All light bulbs eventually burn out, and your car’s outside lights are no exception. Anyone can learn how to replace a broken brake light. A replacement bulb costs approximately $10.
Doing it yourself will save you about $20 in labor costs as well as the time it would take to drive to the shop and wait for the work to be completed. This is something you really shouldn’t have to pay a mechanic to do, it’s just so simple and easy anyone can do it, it’s easier even than changing your oil.
Important points to know before you start the replacement

Source: unsplash.com
You should occasionally spend some time walking around your car while someone else tests each indicator to make sure they all function properly.
Some light bulbs need to be pushed in and then turned to unscrew, but the majority of current bulbs merely pull out as you’ll see in the video I’ve included below. Before you purchase the bulbs, find out what yours do.
It’s a good idea to clean the connector after removing the old bulb and before installing the new one, and the quickest and simplest way to accomplish this is to just spray it with the air compressor.
Things you will need to change the brake light
- Flashlight or a Torch
- Brake light bulb
- Screwdriver
Place these tools in a secured place so that you avoid the run around to find them.
Step by Step instructions to replace the Brake light bulb
Step 1: Determine the problematic light
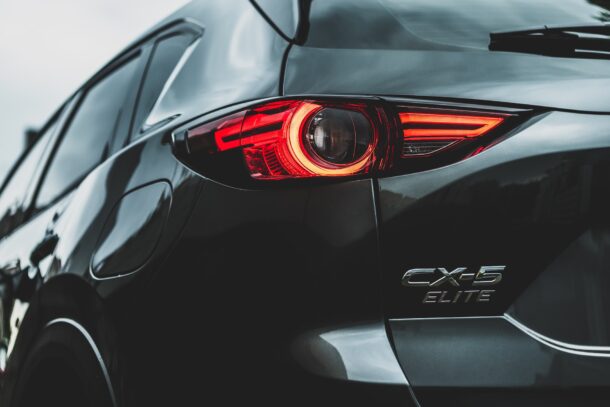
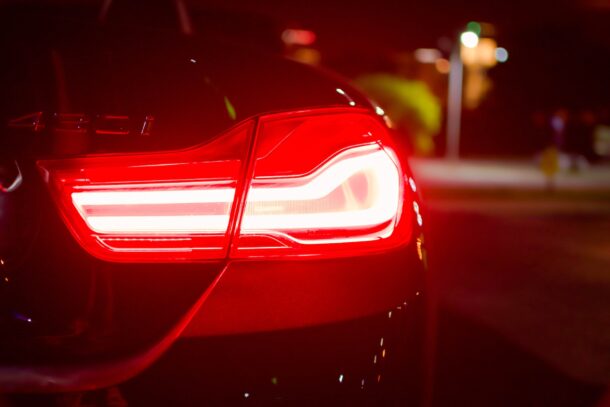
The brake light is one of the numerous bulbs that are typically located behind each tail light lens.
While you stand behind the car and inspect the brake lights, have someone sit in the vehicle and repeatedly press and release the brake pedal.
Find the burned-out brake light bulb under the tail light lens cover. Under each lens, there may be several bulbs, but the brake light bulb is the only one. Finding the proper replacement bulb, later on, could be made easier if you know where the brake light bulb is located behind the lens.
Step 2: Find the brake light bulb, and remove it

Source: unsplash.com
All tail light bulbs may typically be accessed from inside the trunk of current cars.
Look just below the tail light lens where the broken bulb is by opening the trunk. Each tail light bulb’s wires and plastic base are visible there.
Find the brake light bulb in the housing using your headlamp or flashlight.
Pull the bulb holder and bulb into the trunk after counterclockwise-turning the brake light holder to release it. Take the lightbulb out of the holder.
Step 3: Buy a good brake light bulb
Although you don’t have to carry the broken brake light bulb with you when you buy, having it on hand makes sure you obtain the right replacement for brake light bulb.
Find the appropriate brake light bulb for your vehicle’s make and model by going to an online source or from the auto shop. You may have to share the information about your car to check if the bulb will fit.
Try to purchase two bulbs and store a spare in your glove box. If one brake light fails, the other one will likely follow soon.
Step 4: Setup and test the new bulb

Source: pexels.com
Place the fresh bulb inside the holder. After inserting the holder and bulb into the tail light assembly, turn the holder counterclockwise to secure it.
Verify that the tail light assembly’s bulb and holder are firmly in place.
While you examine the light operation from behind, have someone operate the brake pedal while seated in the driver’s seat.
Conclusion
Many drivers may be unaware that it’s prohibited to drive with broken brake lights. The majority of states consider any lights on your car that are not functioning properly to be a traffic offense.
You may therefore be stopped if one of your headlights is not working. Additionally, if your brake light is broken, the police may stop you only for that reason.
Although a broken brake light is considered a minor infraction, police officers have the authority to pull a car over or not.
For instance, an officer might decide to stop the driver if they think the driver’s faulty brake light poses a safety risk.


